
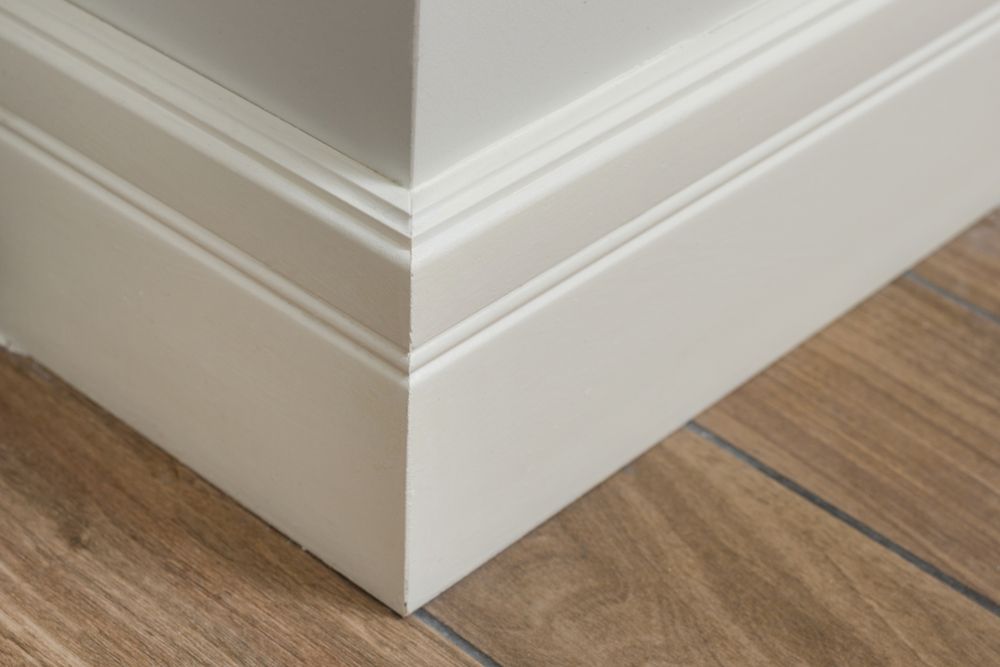
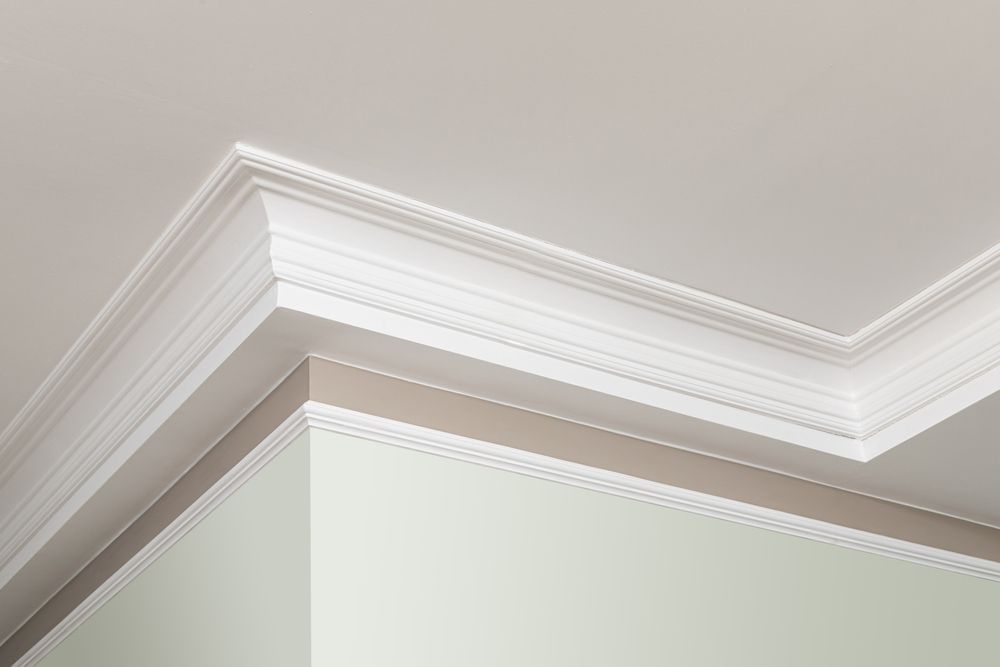
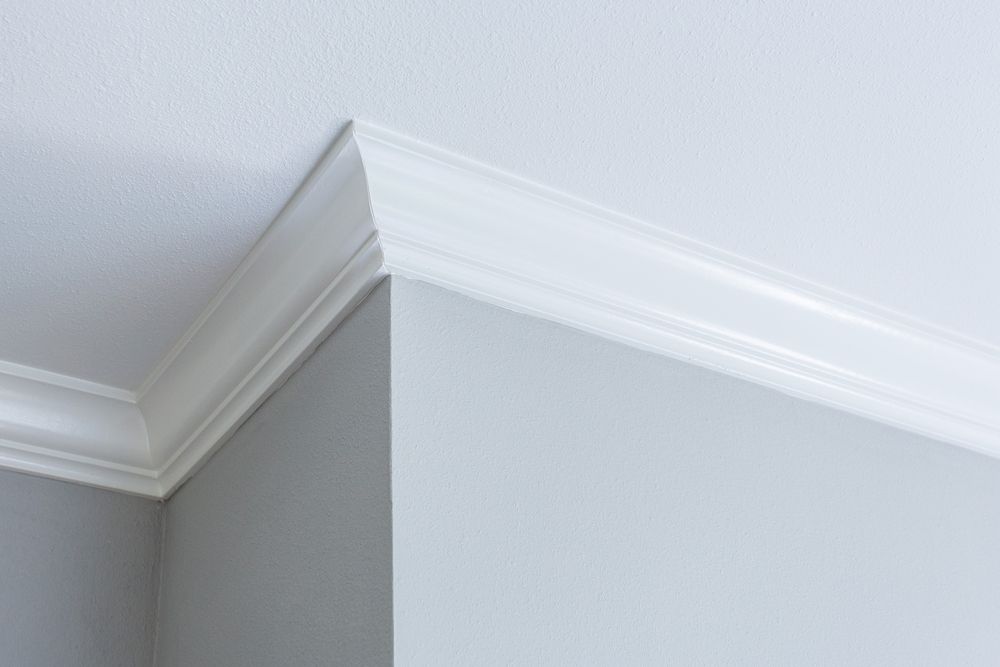
Molding Installed With Precise Corner Transitions
Crown Molding in Lake Elsinore for rooms requiring decorative trim installation or damaged molding replacement
Crown molding changes how a room's ceiling line looks by adding a finished transition between walls and ceilings, but poorly cut corners and uneven joints undermine the entire installation. Tradesman Painting installs decorative crown molding with clean, precise corners and seamless transitions, repairs or replaces damaged sections, and ensures every piece sits flush against both the wall and ceiling without gaps. The result enhances the finished look of living spaces, dining rooms, and other areas where trim detail matters.
Installation requires measuring walls for length, cutting accurate miter and cope joints at inside and outside corners, and securing molding so it follows the wall and ceiling plane even when those surfaces aren't perfectly straight. Coped joints interlock at inside corners to create tight seams that won't open as materials expand or contract.
Arrange a room consultation to review ceiling lines and discuss molding profile options.
What Crown Molding Installation Actually Accomplishes
Proper molding installation means cutting each joint so pieces fit together without visible gaps, even when viewed from directly below or at steep angles where imperfections are most obvious. Coping inside corners allows the profile of one piece to nestle perfectly into the profile of the adjoining piece, which holds tighter over time than simple miter cuts that can separate as wood moves.
After installation is complete, you'll notice crown molding that follows the ceiling line continuously with no breaks, dips, or visible seams at corners. Joints remain tight, the molding sits flush against both surfaces without gaps that collect dust or shadow, and the profile remains consistent around the entire room.
Installation includes securing molding to wall studs and ceiling joists where possible for long-term stability, and filling nail holes so the surface is ready for caulking and painting. Repairing damaged molding involves removing affected sections, cutting replacement pieces to match the existing profile, and blending new material into the surrounding trim.
What Property Owners Usually Ask
Crown molding installation involves precise carpentry, and understanding the process helps you choose profiles and finishes that fit your space.
What determines which molding profile works best in a room?
Ceiling height and room size affect which profiles look proportional—larger, more ornate moldings suit higher ceilings and formal spaces, while simpler profiles work better in rooms with standard eight-foot ceilings.
How are corners cut to fit together without gaps?
Inside corners use coped joints where one piece is cut to follow the profile of the adjoining piece, creating an interlocking fit, while outside corners use miter cuts that meet at a precise angle.
Why does molding sometimes pull away from the ceiling over time?
Improper fastening, seasonal wood movement, or settling in the structure can cause gaps, which is why molding should be secured to framing members rather than just drywall or ceiling material.
How do you handle walls or ceilings that aren't perfectly straight?
Molding is scribed and shimmed as needed to follow irregular surfaces, and joints are adjusted slightly to maintain tight seams even when the underlying structure isn't perfectly plumb or level.
What preparation is needed before molding can be painted?
Nail holes are filled, joints are caulked where molding meets walls and ceilings, and the entire surface is lightly sanded to remove any rough edges or excess filler, leaving trim ready for primer in Lake Elsinore's dry climate.
Tradesman Painting installs crown molding that enhances your room's finished appearance with clean joints and precise corner work. Set up a project review to discuss profile selection and installation details for your space.